
How to hold your camera correctly
Before worrying about shutter speeds, apertures or any of the other settings, get comfortable holding the camera. A steady, comfortable hold makes the camera easier to use and gives you a better chance of a sharp photograph.
Before you start
Have the camera or phone beside you while you read. Do not try to memorise the page. Find each control or try each idea as it is explained. If a term is unfamiliar, the explanation here matters more than remembering the name.
Start with the right hand
If your camera has a hand grip, put your right hand around it. Your index finger should rest naturally near the shutter button. Do not squeeze the camera as hard as you can. You want a secure hold without making your hand tense.
Support the weight with your left hand
Put your left hand underneath the camera or underneath the lens. On a camera with a larger lens, support the lens rather than letting all its weight hang from the camera body. This also leaves your left fingers in a useful position for the zoom or focus ring.
Bring the camera towards you
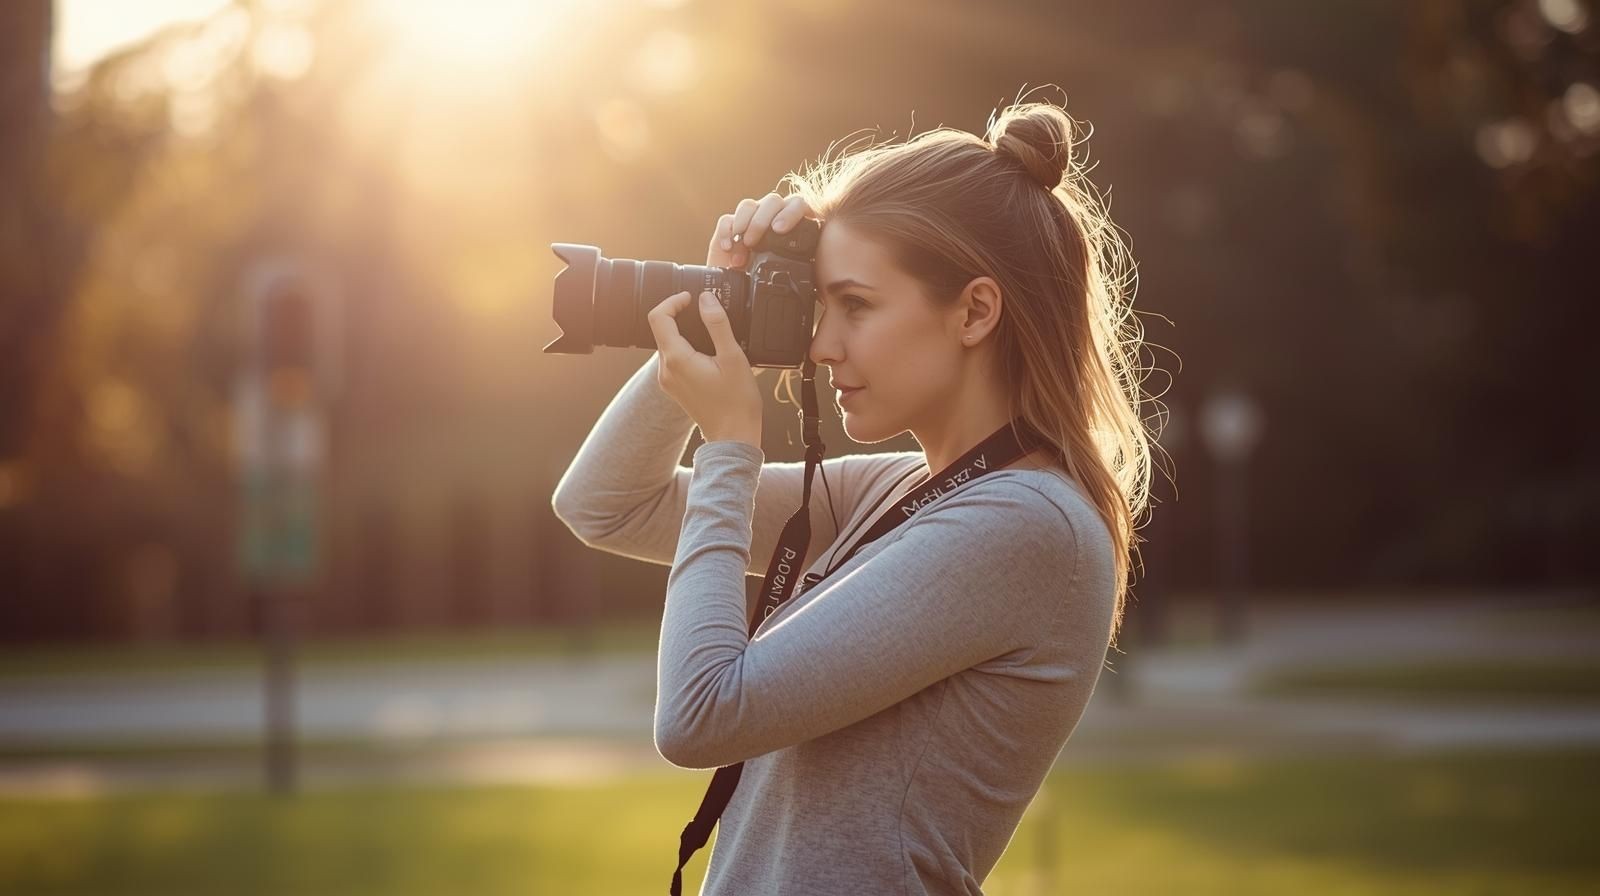
If you are using a viewfinder, bring the camera to your eye rather than pushing your head forwards towards it. Bring your elbows reasonably close to your body. If you are using the rear screen, keep the camera close enough that your arms are not fully stretched out.
Use your body as support
Stand comfortably with your feet apart. If there is a wall, post, table or other solid support nearby, use it. Sitting, kneeling or leaning can sometimes be steadier than standing.
Press, do not stab, the shutter button
Press the shutter button smoothly. A sudden jab can move the camera at the exact moment the photograph is taken. On most cameras a half-press activates focusing and metering; a full press takes the photograph.
Common mistakes
- Holding a DSLR or mirrorless camera one-handed when there is no reason to.
- Putting the left hand on top of the lens instead of supporting it from underneath.
- Standing with both arms stretched straight out.
- Holding your breath for a long time and becoming tense. Breathe normally, settle, then press smoothly.
- Assuming every blurred photograph is caused by bad holding. Subject movement and focusing errors can also cause blur.
What you should be able to do before moving on
The difference may be small in bright light because the camera can use a fast shutter speed. In dimmer light the supported photographs are more likely to retain fine detail. If all the photographs are sharp, that is not a failed exercise. It means the conditions were forgiving.
If that still feels uncertain, repeat the practical. There is no benefit in rushing to the next lesson with a gap in the basics.
OPEN THE PRACTICAL