
Smartphone camera settings explained
Phone cameras hide a lot of technical work, but there are still controls worth understanding. The names differ between Apple, Samsung, Google and other phones, so concentrate on what each control does rather than where one brand puts it.
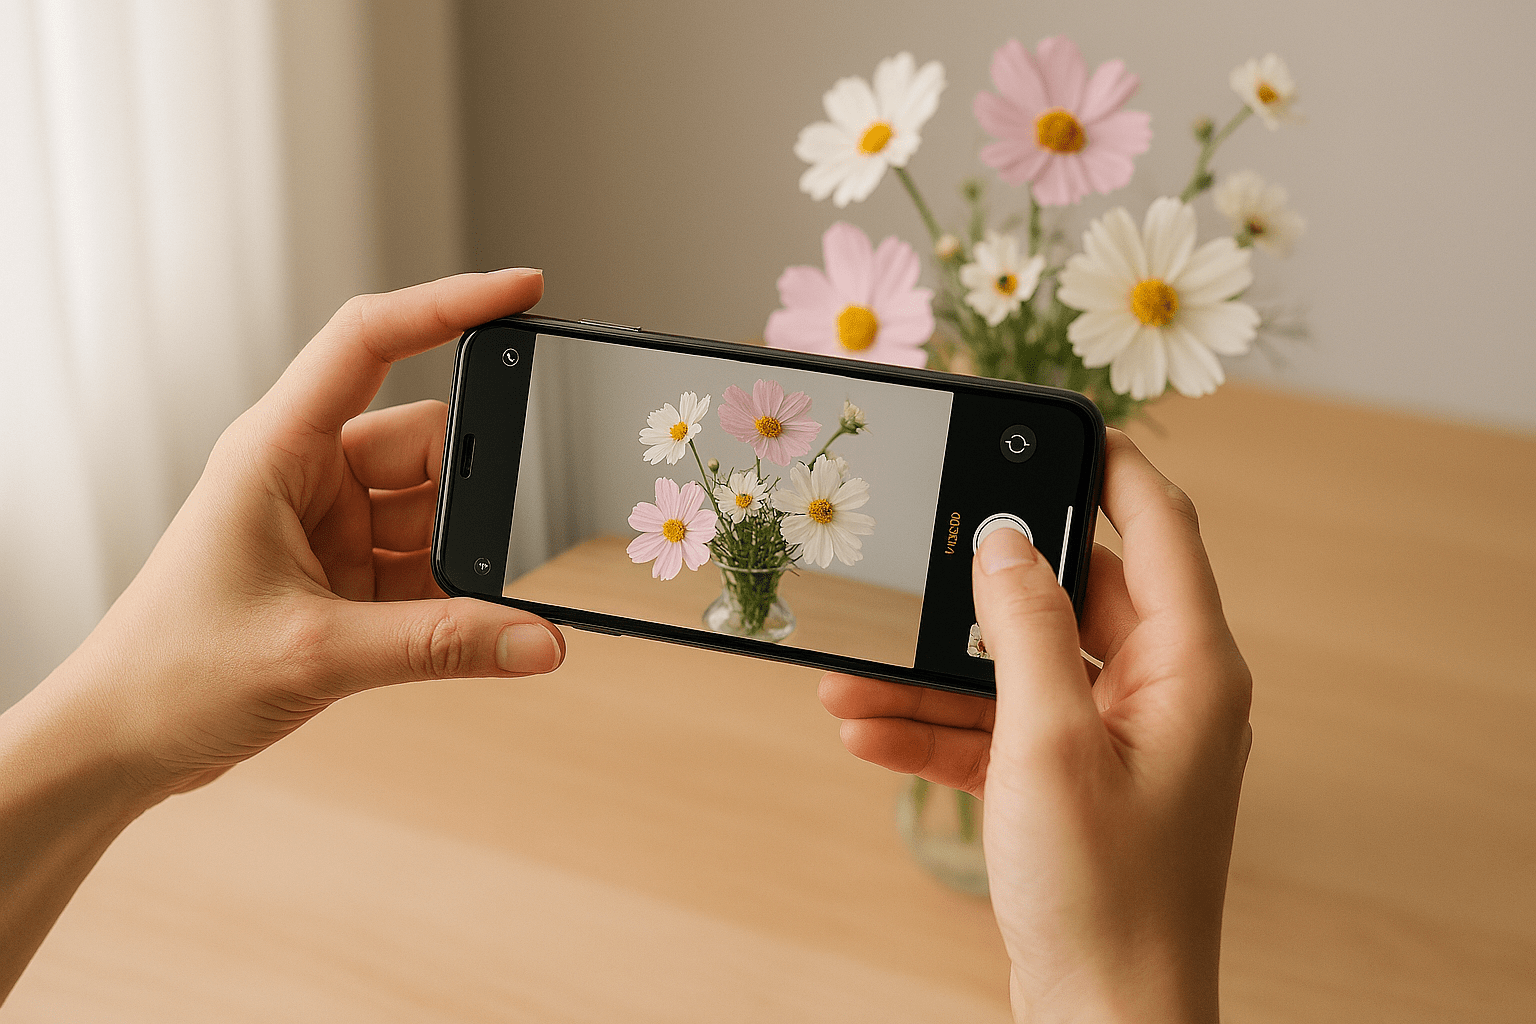
Before you start
Have the camera or phone beside you while you read. Do not try to memorise the page. Find each control or try each idea as it is explained. If a term is unfamiliar, the explanation here matters more than remembering the name.
Lens choices
Buttons such as 0.5x, 1x, 2x or 3x may switch between physical camera modules, crop the image digitally, or use a mixture of both depending on the phone.
Tap to focus
Tapping the screen normally tells the phone where your main subject is. Many phones also let you adjust brightness after tapping.
Exposure adjustment
A sun icon or slider often lets you make the photograph brighter or darker before taking it. This is useful when the automatic result is not what you want.
Night mode
Night modes usually combine information from several frames. Hold the phone steady and allow the capture to finish.
Portrait mode
Portrait modes estimate subject and background and simulate shallow depth of field. Check edges around hair, glasses and objects because the separation is computational, not perfect.
Resolution, RAW and Pro modes
Some phones offer higher-resolution modes, RAW files or manual controls. These can be useful but produce larger files and are not automatically better for every photograph.
Common mistakes
- Pinch-zooming far beyond the useful range and expecting optical detail.
- Assuming Portrait mode creates the same result as an optically shallow depth of field.
- Covering one of the lenses with a finger.
- Using maximum resolution for everything without considering storage and processing.
What you should be able to do before moving on
You should know which controls on your own phone actually change the photograph and which are simply convenient automatic modes.
If that still feels uncertain, repeat the practical. There is no benefit in rushing to the next lesson with a gap in the basics.
OPEN THE PRACTICAL