How to Hold Your Camera Correctly: A Beginner’s Guide
When I first picked up a proper camera, I spent weeks fiddling with settings and wondering why my photos still looked blurry. The answer wasn’t in the menu at all. It was in my hands. Mastering your camera holding technique is the single most important foundation for sharp photographs, yet it’s rarely taught properly. This guide will walk you through the simple adjustments that can transform your photography overnight.
Why Your Camera Grip Matters More Than You Think
Camera shake is the enemy of sharp photos. Even the slightest movement when you press the shutter can turn a potentially brilliant shot into a fuzzy disappointment. Modern cameras have fantastic stabilisation technology, but they can’t compensate for poor technique. Learning the right camera holding technique gives you a stable foundation that works with any camera, from your mobile phone to a professional DSLR.
Think of it this way: you wouldn’t try to write neatly while holding a pen with clumsy grip, would you? Photography works the same way. Your camera becomes an extension of your body, and how you hold it directly affects every image you create. The best bit? This costs nothing to fix and you can practise anywhere, even without taking a single photograph.
The Basic Two-Handed Grip Explained
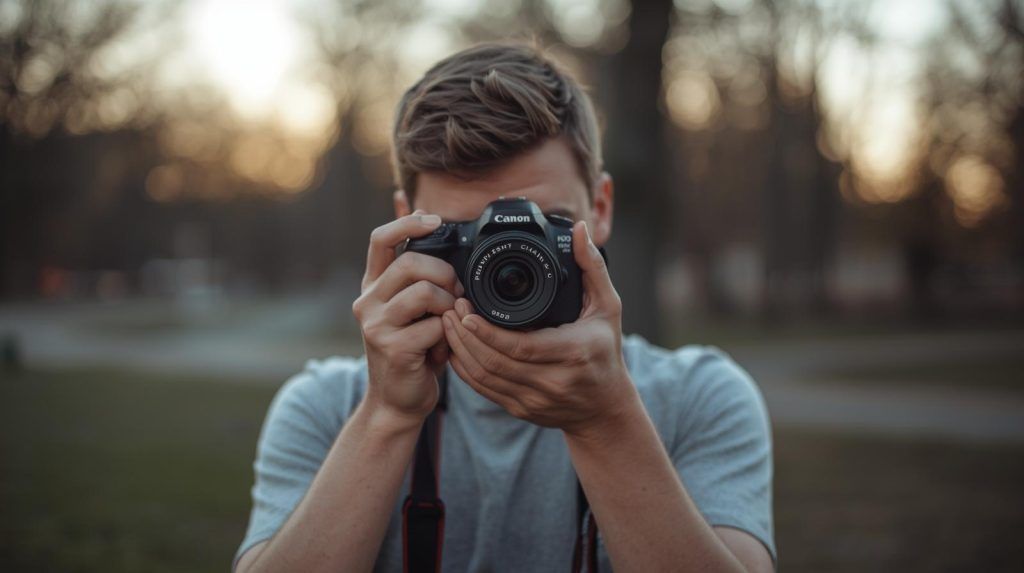
Forget everything you’ve seen in films where photographers casually hold their cameras with one hand. The professional standard is a firm two-handed grip that creates three points of contact with your body. This triangle of stability is the core of proper camera holding technique.
What Your Right Hand Does
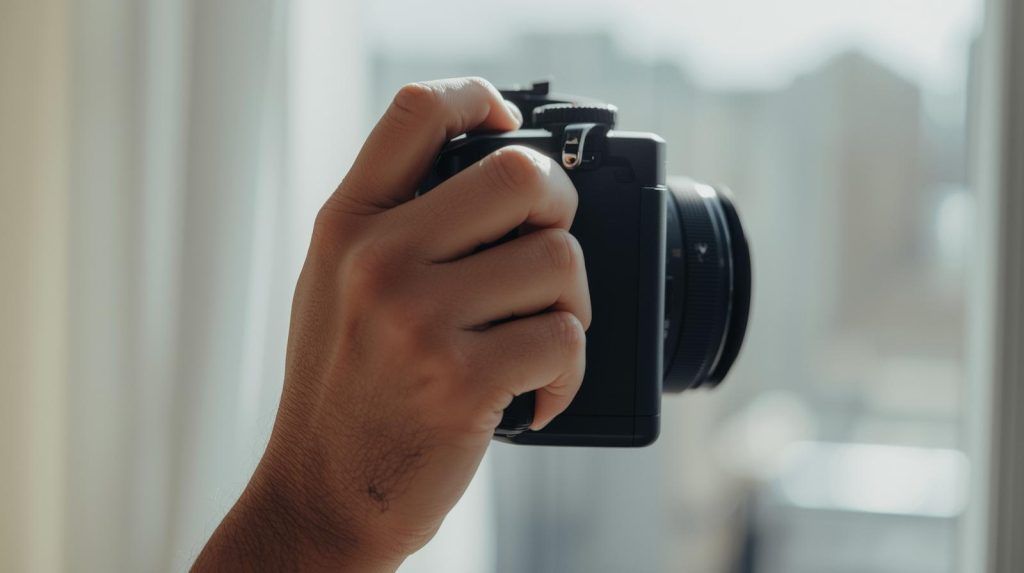
Your right hand belongs on the camera’s grip, naturally positioned so your index finger rests comfortably on the shutter button. Don’t grip too tightly, imagine holding a hamster firmly enough that it won’t escape, but gently enough not to harm it. Your thumb should curl around the back of the camera body, finding the textured thumb rest most cameras have. This hand primarily controls the camera and presses the shutter, but it shouldn’t support all the weight.
What Your Left Hand Does
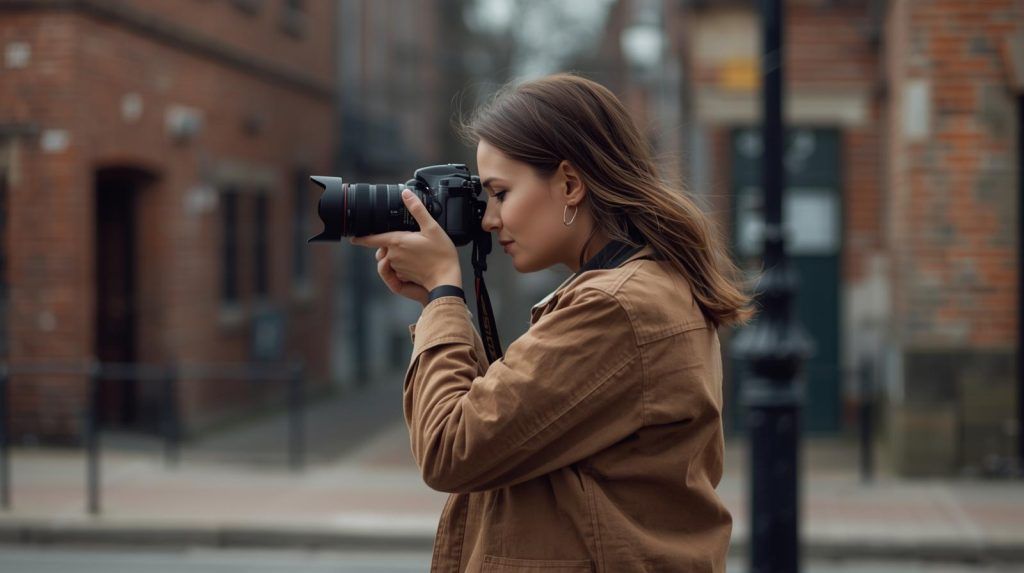
This is where most beginners go wrong. Your left hand doesn’t just hang about underneath the camera. It should cradle the lens from underneath, with your palm facing up and fingers gently curling around the lens barrel. This hand supports the weight of the camera and lens, acting like a built-in tripod. Keep your elbow tucked against your body for extra stability. If you’re using a zoom lens, position your left hand so you can operate the zoom ring without shifting your entire grip.
Standing Position and Body Stability
Your camera holding technique extends beyond just your hands. How you stand matters enormously. Start with your feet roughly shoulder-width apart, with one foot slightly forward. This gives you a stable base and helps you lean into the camera slightly. Distribute your weight evenly, or put slightly more weight on your front foot.
Now tuck those elbows in. Many beginners shoot with their elbows flapping about like chicken wings. Bring them tight against your sides. This instantly adds two more points of contact and dramatically reduces shake. Breathe normally, but try to press the shutter at the natural pause between breaths. Don’t hold your breath, you’ll tense up and create more shake.
Common Mistakes That Ruin Sharp Photos
Let’s address the habits you need to break. First, the sniper stance: one elbow up in the air while you squint through the viewfinder. Looks cool in films, produces terrible results in real life. Keep both elbows down.
Second, the death grip. Squeezing your camera like it owes you money creates tension that travels up your arms and into your shoulders. Tense muscles shake. Relax your grip and breathe.
Third, shooting at arm’s length. Some beginners hold the camera away from their face to see the LCD screen, arms fully extended. This is about as stable as shooting from a boat in a storm. Bring the camera to your eye and keep your elbows in.
Fourth, ignoring the neck strap. Your camera’s strap isn’t just for carrying. When wrapped properly around your neck or wrist, it adds another point of contact and stability. Keep it short enough that the camera can’t fall far if you drop it, but long enough to shoot comfortably.
Adapting Your Camera Holding Technique for Different Situations
Shooting in Portrait Orientation
When you turn your camera vertical, the rules change slightly. Your left hand continues to support the lens from underneath, but your right hand now sits on top of the camera body. This feels odd at first. Keep your right elbow tucked in against your body, and let your left elbow rest against your chest or stomach for extra support. Some cameras have an additional vertical grip you can buy, which makes this position more comfortable and stable.
Using Longer Lenses
Heavy telephoto lenses change your camera holding technique completely. The weight shifts forward, so your left hand becomes even more critical. Slide your hand further forward on the lens, closer to the centre of gravity. Some large lenses have a tripod collar, you can rest your palm against this. Consider bracing the lens against a solid object like a wall or tree, or even using your knee as a makeshift support if you’re sitting or crouching.
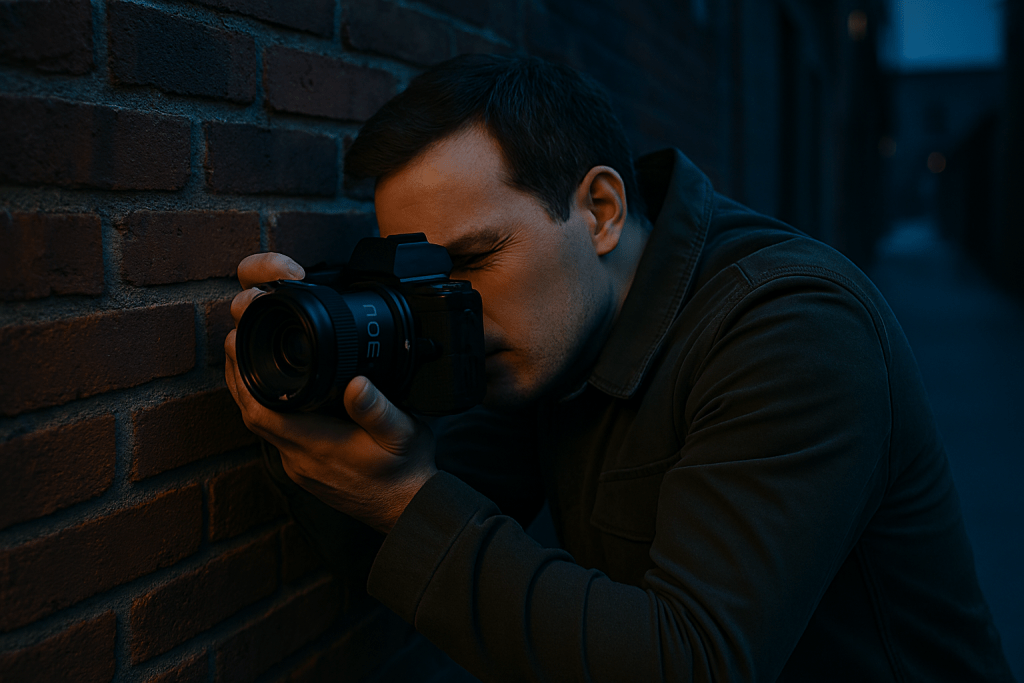
Working with Slow Shutter Speeds
When light levels drop and your shutter speed falls below 1/60th of a second, even perfect technique might not be enough. This is where you need to get creative. Lean against walls, lamp posts, or anything solid. Sit down and rest your elbows on your knees. Lie on the ground and use your camera bag as a pillow for extra stability. These tricks combined with proper camera holding technique can let you shoot handheld at surprisingly slow speeds.
Final Tips for Rock-Solid Stability
Start practising at home without even taking photos. Pick up your camera, get into position, check your hands, check your stance, then relax. Do this for five minutes a day until it feels natural. Muscle memory is your friend here.
When you do start shooting, review your photos at 100% magnification on your computer. Look for subtle motion blur and ask yourself what went wrong. Was it your grip? Your stance? Your breathing? Each blurry photo is a learning opportunity.
Finally, don’t forget about your camera’s burst mode. Taking three shots in quick succession often means the middle image is sharpest, as you’ve settled into your stance and haven’t started moving away yet. It’s not cheating, it’s smart technique.
Proper camera holding technique is one of those skills that separates serious photographers from casual snapshooters. It costs nothing, works everywhere, and improves every single photograph you take. Master this and you’ve built the foundation for everything else in photography.