Exercises: How to Hold Your Camera Steady and Stop Blurry Photos
Let’s be honest, camera movement is the number one reason your photos might look a bit soft or blurry. You can spend ages learning about settings, but if your hands are wobbling all over the place, your pictures will never look crisp. The brilliant news is that holding your camera steady is a skill you can learn. These five exercises will turn you into a human tripod, and you can try them all in your living room this afternoon.
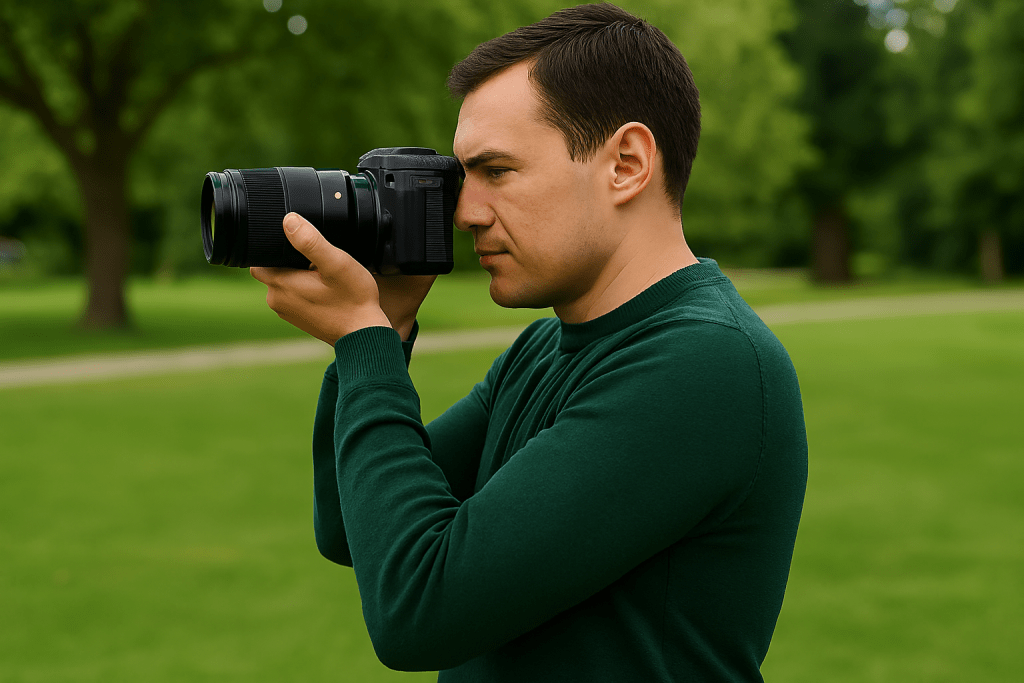
Exercise 1: The Chicken Wing Fix
What you will learn: Why flapping your elbows about is ruining your shots and how tucking them in changes everything.
What you need: Your camera, something with clear detail like a book cover or fence, and a lens that zooms to about 85mm or 100mm.
Step-by-step instructions:
- Stand about three metres from your subject and hold your camera with your elbows poking out like chicken wings. We have all done it.
- Take five photos at 1/60th of a second, focusing each time.
- Now bring your elbows tight against your body, like you are trying to squeeze into a tight jumper.
- Take five more photos at the same settings.
- Pop them on your computer and zoom right in to see the difference.
Breathe normally. Do not move your feet or change your stance. The only thing we are changing is your elbows.
Count your sharp images from each set. With elbows out you might get two or three sharp ones. With elbows tucked, you will probably get five out of five. That is your body becoming a stable platform.
Exercise 2: The Breathing Trick
What you will learn: The best moment in your breathing to press the button without shaking.
What you need: Your camera, a detailed subject, and a shutter speed around 1/30th of a second.
Step-by-step instructions:
- Set up your shot and hold the camera properly with tucked elbows.
- Take a photo while you are breathing in.
- Take another while breathing out.
- Take a third after you have breathed out fully and held it for a couple of seconds.
- Do this three times so you have nine photos total.
Tips for success: Use single shot mode. Hold the camera firmly but not so tight that your hands shake from tension.
Look closely at the details in each photo. Most people find the held-breath shots are sharpest, but you might be different. Find what works for your body.
Exercise 3: One Hand or Two?
What you will learn: Why proper two-handed technique beats one-handed every single time.
What you need: Your camera and something obvious like a street sign or clock.
Step-by-step instructions:
- Stand comfortably and hold your camera the right way with both hands, elbows tucked in.
- Take three photos at 1/60th of a second.
- Now hold the camera with just your right hand, like you are casually showing a mate a picture.
- Take three more photos at the same settings.
- If you are feeling brave, try one-handed at 1/30th of a second for three final shots.
Keep your feet in the same spot. Only change how you hold the camera. Do not lean on anything.
The two-handed shots should be crisp as anything. The one-handed shots at 1/60th will look a bit off, and at 1/30th they will be proper blurry. This is proof that those Instagram influencers holding cameras one-handed are not getting the best shots.
Exercise 4: The Wall Trick
What you will learn: How to use walls and pillars as free tripods when the light gets dim.
What you will need: Your camera and any sturdy wall or lamp post.
Step-by-step instructions:
- Find something interesting to photograph in dim light where you need a slow shutter speed.
- Stand normally and take three shots at 1/15th of a second using good technique.
- Now stand side-on to a wall and rest your camera body directly against it.
- Gently press the camera into the wall as you take three more shots at the same settings.
- If you can, try wrapping your arm around a lamp post for the same test.
Let the wall support the camera body, not just your hands. Press steadily but do not shove so hard that you wobble when you press the button.
Count your sharp shots from each method. The wall-supported ones should give you loads more keepers. This trick lets you shoot handheld when you would normally need to lug a tripod around.
Exercise 5: Mirror Practice
What you will learn: How to spot and fix your own bad habits by watching yourself.
What you need: Your camera and a decent-sized mirror or reflective window.
Step-by-step instructions:
- Stand in front of a mirror with your camera.
- Watch yourself as you bring the camera up to your eye the way you normally would.
- Take a photo and notice any wobbling or leaning in your reflection.
- Now consciously adjust: feet shoulder-width apart, elbows tucked, camera pressed to your face.
- Watch yourself as you take another shot, keeping that stable posture.
- Do this ten times, switching between your normal way and the proper way.
Be honest. We all think we hold the camera properly until we see our habits reflected back. The mirror never lies.
The exercise is the review. By watching yourself, you build muscle memory for the right posture. Spend five minutes a week doing this until good technique becomes natural.

These exercises might feel a bit silly at first, especially the mirror one, but trust me, every professional photographer has done something similar. We all had to learn how to hold our cameras properly, and most of us learned by making mistakes and practising.
Spend a week on each exercise. By the end of a month, you will notice a massive improvement in your keeper rate, especially in dodgy light where you used to get nothing but blur. The best bit is it costs nothing. No new kit, no expensive gear. Just you, your camera, and a willingness to look slightly daft in front of a mirror.
Once good technique becomes second nature, you will find yourself automatically standing steady and breathing right before every shot. That is when you know you have cracked it. Now get out there and give it a go. Your sharper photos are waiting.