5 Memory Card Exercises You Can Try at Home Today
In my last post, we looked at handling your camera with confidence. But what about those tiny memory cards that store all your precious photos? They might look simple, but a little practise with them can save you from real heartache later. These five exercises will turn you into a memory card expert without ever leaving your home.
Exercise 1: The Card Swap Drill
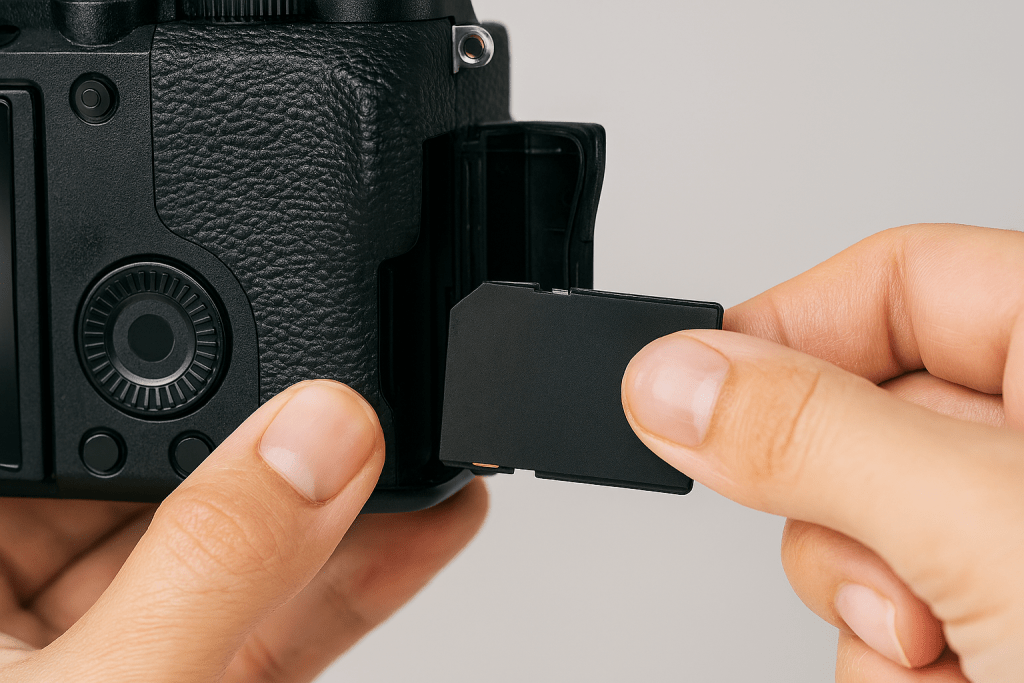
The task: Safely remove and reinsert your memory card three times in a row.
This builds the muscle memory your fingers need to handle cards smoothly. Those little slots inside your camera are more delicate than they look, and forcing a card can cause expensive damage. By practising three gentle insertions, you learn the exact angle and pressure that feels right. It is like learning to slide a key into a lock without looking. The first few times might feel clumsy, but repetition creates confidence. You will soon know the sound and feel of a card clicking home properly.
How to approach it: Start with your camera switched off and placed on a stable surface. Press the memory card gently to eject it and wait for the soft click. Pull it out slowly and look at it. Notice which way the label faces and where the gold contacts are. Now insert it back until you feel that same gentle click. Do not force it. Do this three times, slowly and deliberately. Speed comes later. Focus on smoothness and listening for the clicks.
Exercise 2: The Format Practice
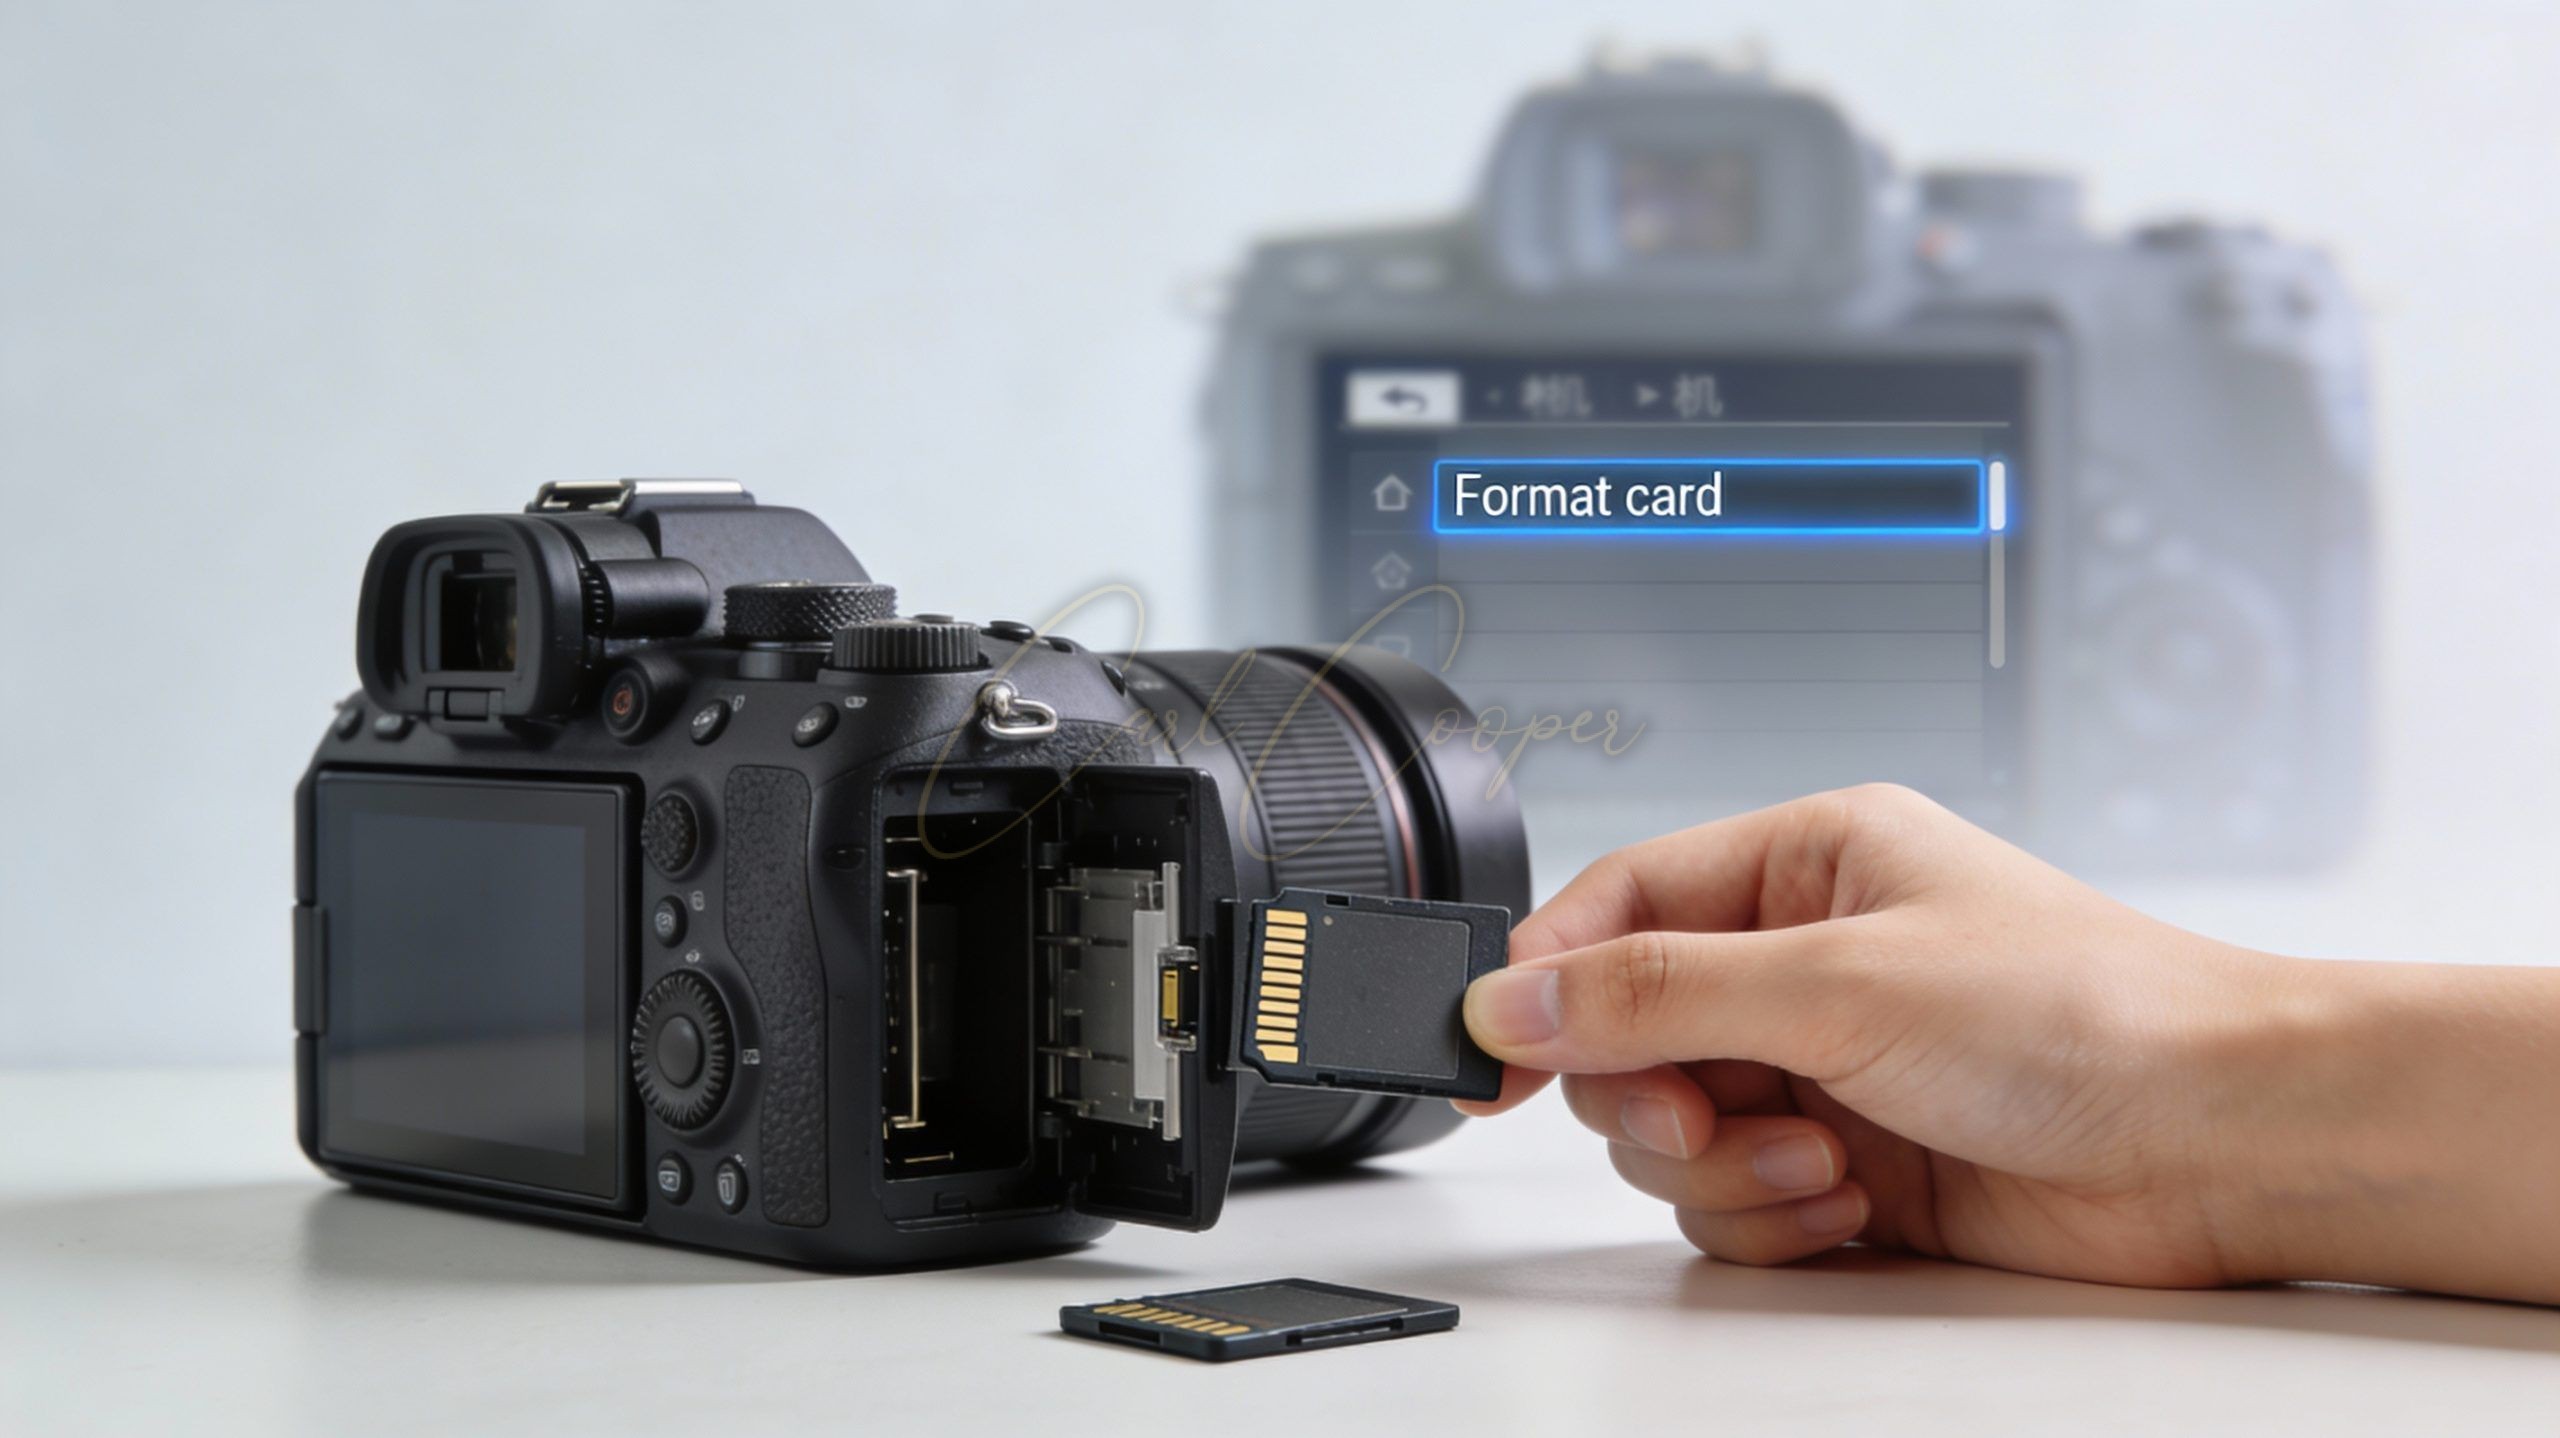
The task: Back up your photos, then format the card in your camera (not on your computer).
Formatting is like giving your memory card a fresh start and a health check. It clears out old files and prepares the card to work perfectly with your specific camera’s filing system. Always format in-camera, never on your computer. Your camera and computer speak slightly different languages to the card. When you format in-camera, you ensure they understand each other perfectly. This prevents weird errors and keeps your card running smoothly for longer. Think of it as tuning an instrument to the right pitch.
How to approach it: First, copy every single photo from your card to your computer or external drive. This is called backing up, and it is the most important step. Never format before backing up. Once your photos are safe, put the card back in your camera. Find the format option in your camera’s menu (it is usually in the setup or tools section). Select it and confirm. Wait for the process to finish. It only takes a few seconds. Your card is now fresh and ready.

Exercise 3: The Capacity Test
The task: Fill your card completely with test shots and note exactly how many photos fit.
Ever wondered how many pictures you can really take before your card is full? The number printed on the card is just an estimate. The actual number depends on your camera settings. High quality images use more space, so you get fewer photos. Lower quality gives you more. This exercise tells you the real number for your specific camera and settings. Knowing this stops you from running out of space at a birthday party or on holiday. It is like knowing how many miles you can drive before your petrol tank runs out.
How to approach it: Start with an empty, formatted card. Set your camera to the quality setting you normally use. Now take photos of anything – your wall, your hand, the carpet. Keep pressing the shutter button until the camera tells you the card is full. Do not delete any shots. When it is full, check how many photos you managed. Your camera will show this number. Write it down and keep it with your gear. Now you know your true capacity.

Exercise 4: The Error Simulation
The task: Try inserting your card upside down (safely) to learn the correct orientation.
This sounds strange, but it teaches you what wrong feels like. When you know how the card does not fit, you understand exactly how it should fit. It is like learning to put a key in a lock by feeling which way it does not turn. Most card damage happens when someone forces a card in the wrong way. By practising the wrong orientation gently, you learn the limits. You will feel the resistance and know to stop. This stops you from ever forcing it by mistake when you are in a hurry.
How to approach it: Hold your memory card and look for the small diagram or notch that shows the correct direction. Now turn the card the wrong way round. Very gently, try to insert it into the camera slot without any pressure. You will feel it does not slide in. Stop immediately. Now turn it the correct way and feel how smoothly it glides. Repeat this two more times. Notice the visual clues on the card that show you the right way. Your fingers will remember the feeling.
Exercise 5: The Card Labelling System
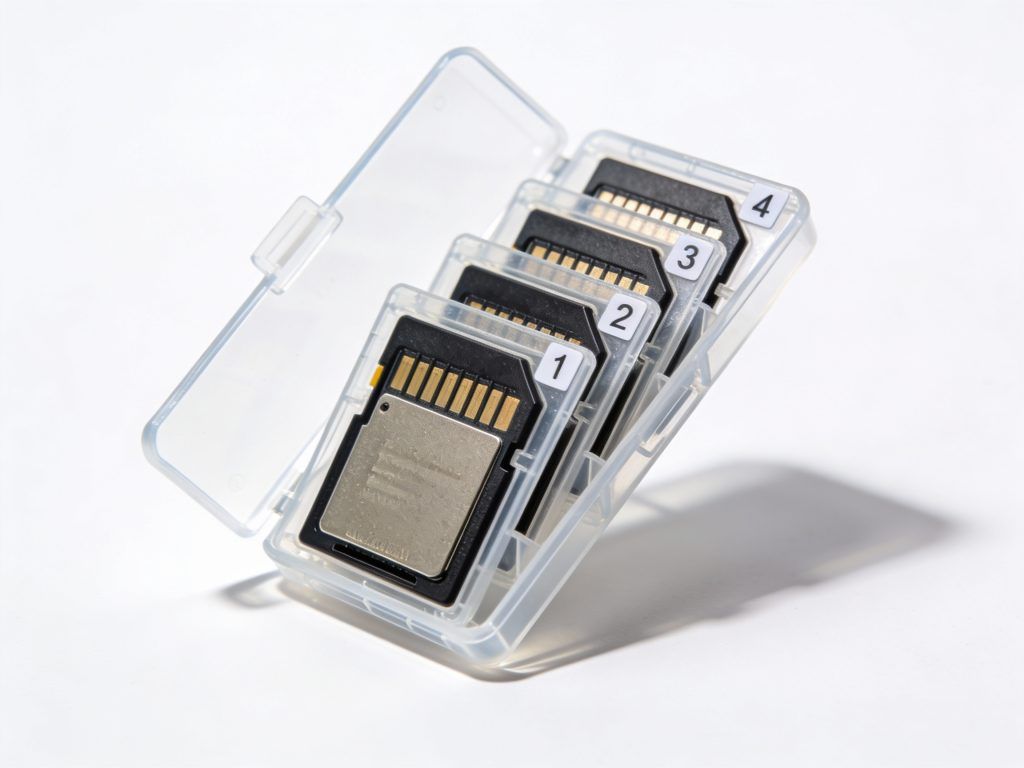
The task: Label your memory card with a date and type (for example, “Portrait Practice – June”).
If you own more than one memory card, labels stop confusion and keep you organised. You will know which card has your holiday photos and which one is empty and ready to use. It is like putting your name in a school textbook so it does not get mixed up with someone else’s. Labels also remind you how old the card is. Memory cards do wear out eventually, so knowing the date helps you spot when a card might be getting unreliable. A simple label can prevent you from accidentally formatting the wrong card and losing important photos.
How to approach it: Use a small sticky label and a fine marker pen. Write on the label before sticking it to the card. Keep the text short and clear: “Holiday Spain 2025” or “Empty – Ready”. Stick the label on the plastic case, never on the card itself. If you do not have labels, use a silver marker on the case. Update the label when you reuse the card. Store labelled cards together so you can see them all at a glance. This tiny habit keeps your photo collection organised.
Building Good Habits
These exercises might seem small, but they build the foundation for worry-free photography. When you know your card is formatted correctly, inserted safely, and properly labelled, you can focus on taking great pictures instead of panicking about technical problems. Good memory card habits protect your photos and your gear.
Try one exercise each day for the next week. Some will feel easy, others might reveal surprising gaps in your knowledge. That is normal. Every professional photographer you admire has dropped a memory card, formatted the wrong one, or run out of space at a crucial moment. They learned from those mistakes and built better habits.
Start today. By next week, handling memory cards will feel as natural as putting on your shoes. Your future self will thank you when you never lose a photo because of a simple card error.
I would love to know how you get on. Which exercise felt most useful? Have you already started labelling your cards? Share your experiences and let me know if any of these tips have saved your photos.