Exercises: Camera Basics
If you’ve just finished reading about camera basics, these hands-on exercises will help you move from theory to instinct. Like learning to touch type, the goal is to operate your camera without thinking about where your fingers need to go. Let’s turn those awkward fumbles into smooth, confident movements.
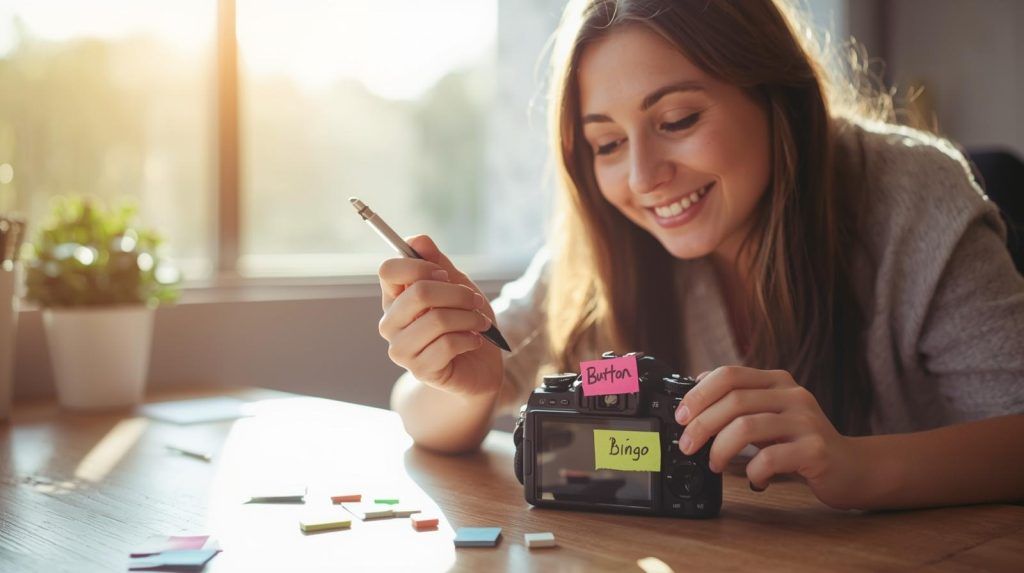
Button Bingo
You will learn the exact location and function of your camera’s most important buttons and dials, so you can adjust settings quickly without taking your eye from the viewfinder.
Your camera, a pack of small sticky notes or coloured dot stickers, and a pen.
Write the function of each key button on a sticky note (ISO, aperture, shutter speed, focus mode, white balance, playback, etc). Stick one note on each corresponding button. Spend five minutes just pressing each button and saying its function out loud. Then remove the stickers and try to remember where each function lives. Repeat this daily for a week.
Start with just five essential buttons rather than overwhelming yourself. Practise in good lighting first. Make it enjoyable by turning it into a proper game, give yourself points for each correct button you press without looking.
Which buttons did you instinctively remember? Which ones kept confusing you? Are there any buttons you never knew existed that might be useful?
Blindfold Drill
You will build true muscle memory that lets you change settings by touch alone, essential for shooting in dark conditions or when you need to keep your eye pressed to the viewfinder.
Your camera with a strap, a soft scarf or blindfold, and a timer on your phone.
Sit comfortably with your camera in your normal shooting position. Cover your eyes with the scarf. Set your timer for three minutes. Practise finding the ISO button, then the shutter speed dial, then the aperture control. Each time you find one correctly, give yourself a mental cheer and move to the next. If you get stuck, remove the blindfold, check the position, then try again.
Keep your camera strap around your neck for safety. Begin with just two buttons and add more as you improve. Don’t get frustrated, this is genuinely difficult and gets easier surprisingly quickly. Short daily practise works better than one long session.
Did your fingers start to remember the distances between buttons? Which controls have distinctive shapes that help you identify them? How does this change the way you think about your camera?
Function Swap
You will understand how changing one setting affects your image preview and see the relationship between ISO, shutter speed, and aperture in real time.
Your camera, a tripod if you have one (or a stable surface), and a consistent subject like a vase of flowers or a book on a table.
Set up your subject and frame your shot. Put your camera in aperture priority mode (A or Av). Take a photo at ISO 100 and note the shutter speed. Now increase the ISO to 400. Notice how the shutter speed changes in your viewfinder. Take another photo and compare the brightness. Repeat this, changing only the ISO each time, and watch how your camera compensates.
Use a tripod so you can focus purely on the settings changes. Keep notes on a piece of paper about what changes you observe. Don’t worry about taking perfect photos, this is about understanding cause and effect.
How did the image brightness change? What happened to the shutter speed as you increased ISO? Can you see any difference in image quality between the low and high ISO shots?
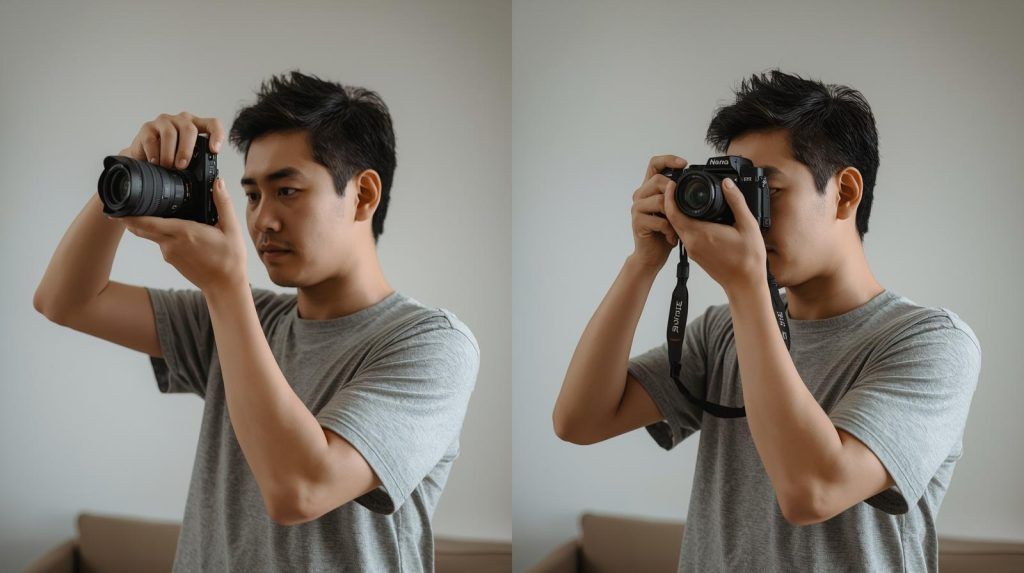
LCD vs Viewfinder Challenge
You will discover the practical differences between composing with your LCD screen versus the viewfinder, including stability, visibility in bright light, and how you see the scene.
Your camera and the same subject photographed in two different ways.
Find a subject with some fine detail, like a brick wall or a tree with textured bark. First, take a photo holding the camera away from you using the LCD screen. Then take the exact same photo using the viewfinder with proper camera holding technique. Try this in both bright sunlight and shade. For each shot, note how stable the camera felt and how clearly you could see the detail.
Use the same settings for both shots so you’re only comparing the viewing method. Pay attention to subtle camera shake in the LCD version. Notice how your body position changes between the two methods.
Which method gave you a sharper result? How did the viewing experience differ in bright light versus shade? Did you compose differently depending on which method you used?
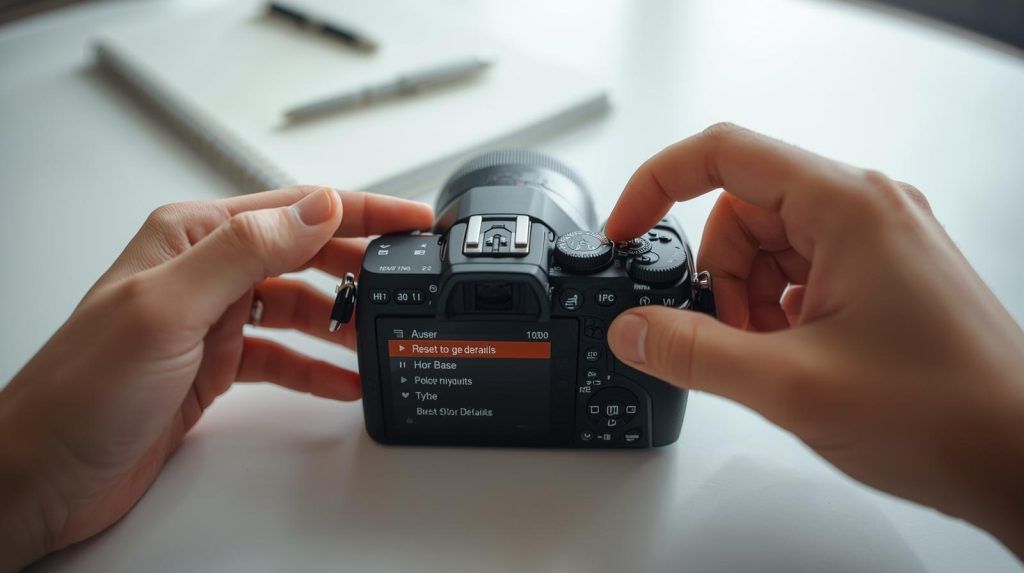
Reset Challenge
You will learn how to quickly restore your preferred settings after resetting your camera, and identify which settings you actually use most often.
Your camera, a notepad to write down your settings, and a timer.
Write down your current favourite settings, including ISO, aperture, shutter speed, focus mode, file format, and white balance. Now reset your camera to factory defaults using the menu. Set your timer and see how quickly you can restore all your preferred settings from memory. Repeat this exercise weekly, trying to beat your previous time.
Create a simple cheat card with your essential settings that lives in your camera bag. Focus on the five settings you change most often rather than every possible option. Learn the menu shortcuts on your camera to navigate faster.
Which settings took the longest to find? Did you forget anything important? Are there any default settings you actually prefer to your usual choices?
These exercises might feel a bit strange at first, especially the blindfold drill, but stick with them. The goal isn’t to memorise everything on day one. It’s about building familiarity so you can focus on what really matters: making great photographs. Work through them at your own pace, and you’ll be amazed how natural your camera feels after just a couple of weeks.